

GitHub Actions
To set up connection between GitHub and Testomat.io, first, you need to configure your GitHub account:
Create a Personal Access Token on GitHub with access to workflow scope (follow the instructions by link - Create PAT).
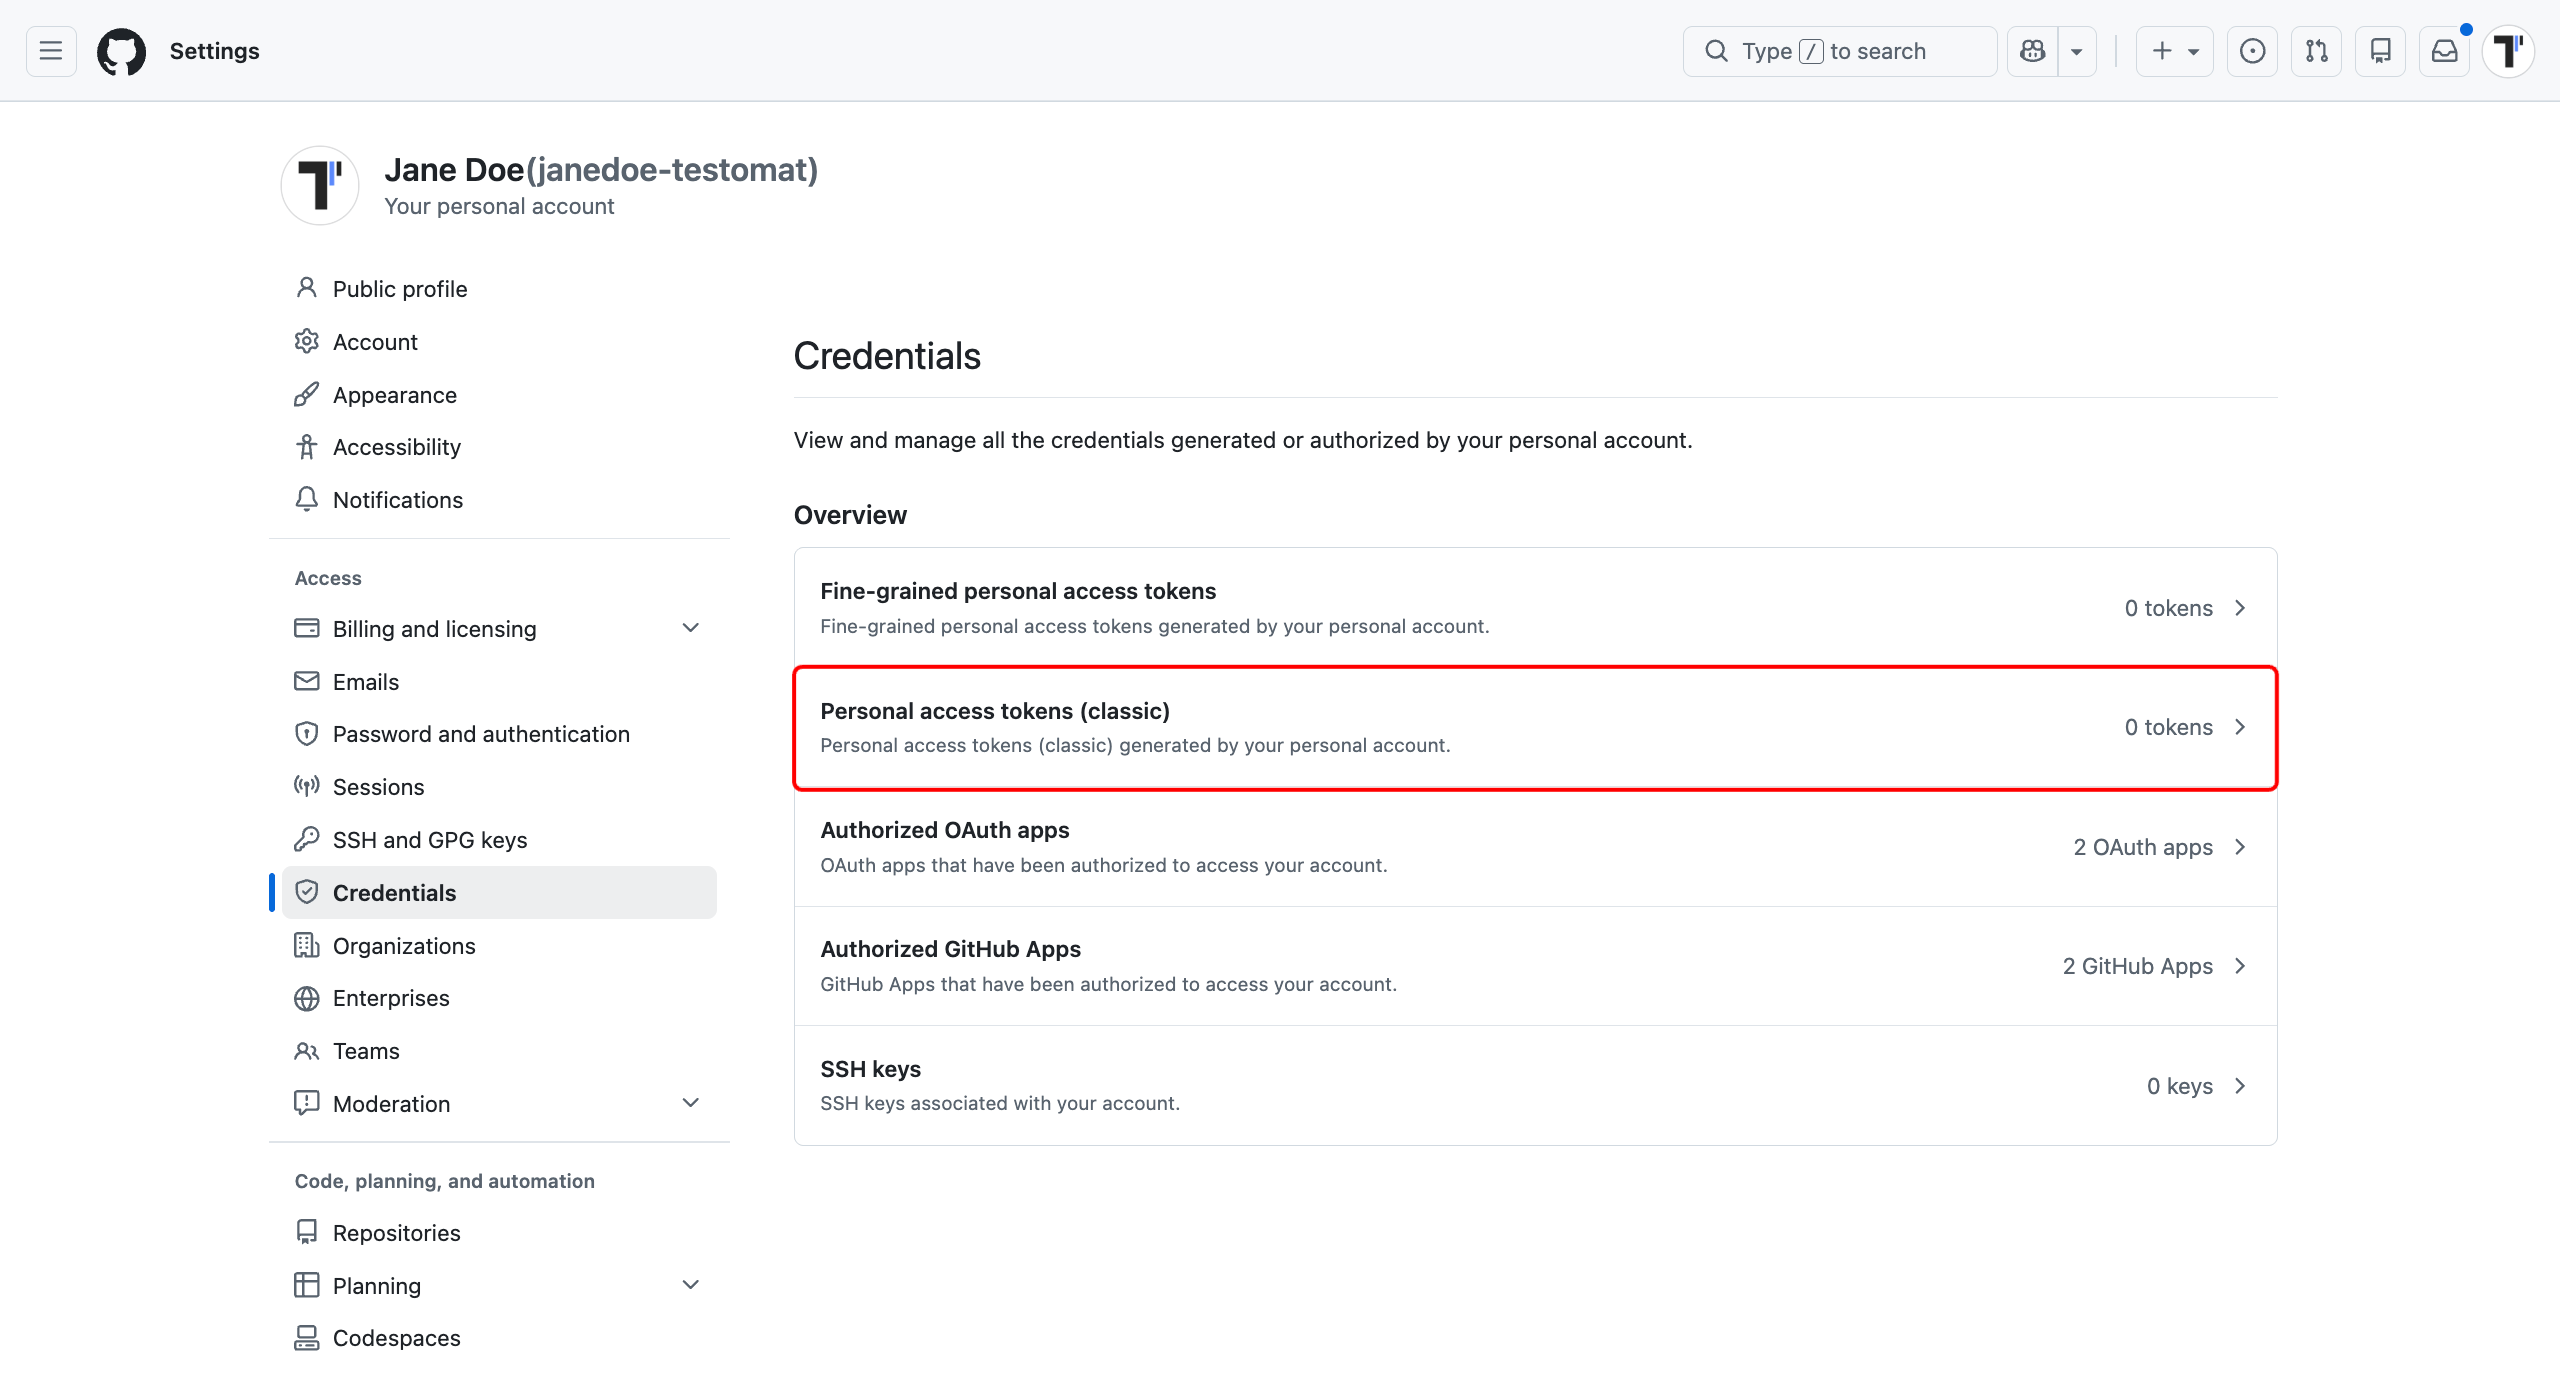
Create a Workflow in a GitHub Repository:
- Go to ‘Actions’ tab in Repository
- Select Workflow template
- Click ‘Configure’ button. Then you will get a workflow template.
This workflow will be used solely by Testomat.io, so it should start only on workflow_dispatch event. The event should be defined with the following input parameters:
name: Testomatio Tests
on:  workflow_dispatch:    inputs:      grep:        description: 'tests to grep '        required: false        default: ''      run:        required: false      testomatio:        required: false
The Job should include a step where the test runner is executed with --grep option and TESTOMATIO environment variables passed in. For instance:
- run: npx codeceptjs run --grep "${{ github.event.inputs.grep }}" env: TESTOMATIO: "${{ github.event.inputs.testomatio }}" TESTOMATIO_RUN: "${{ github.event.inputs.run }}"After configuring your GitHub account, integrate GitHub Actions CI with your Testomat.io project:
- Go to ‘Settings’.
- Select ‘Continuous Integration’.
- Click ‘Connect to CI’.
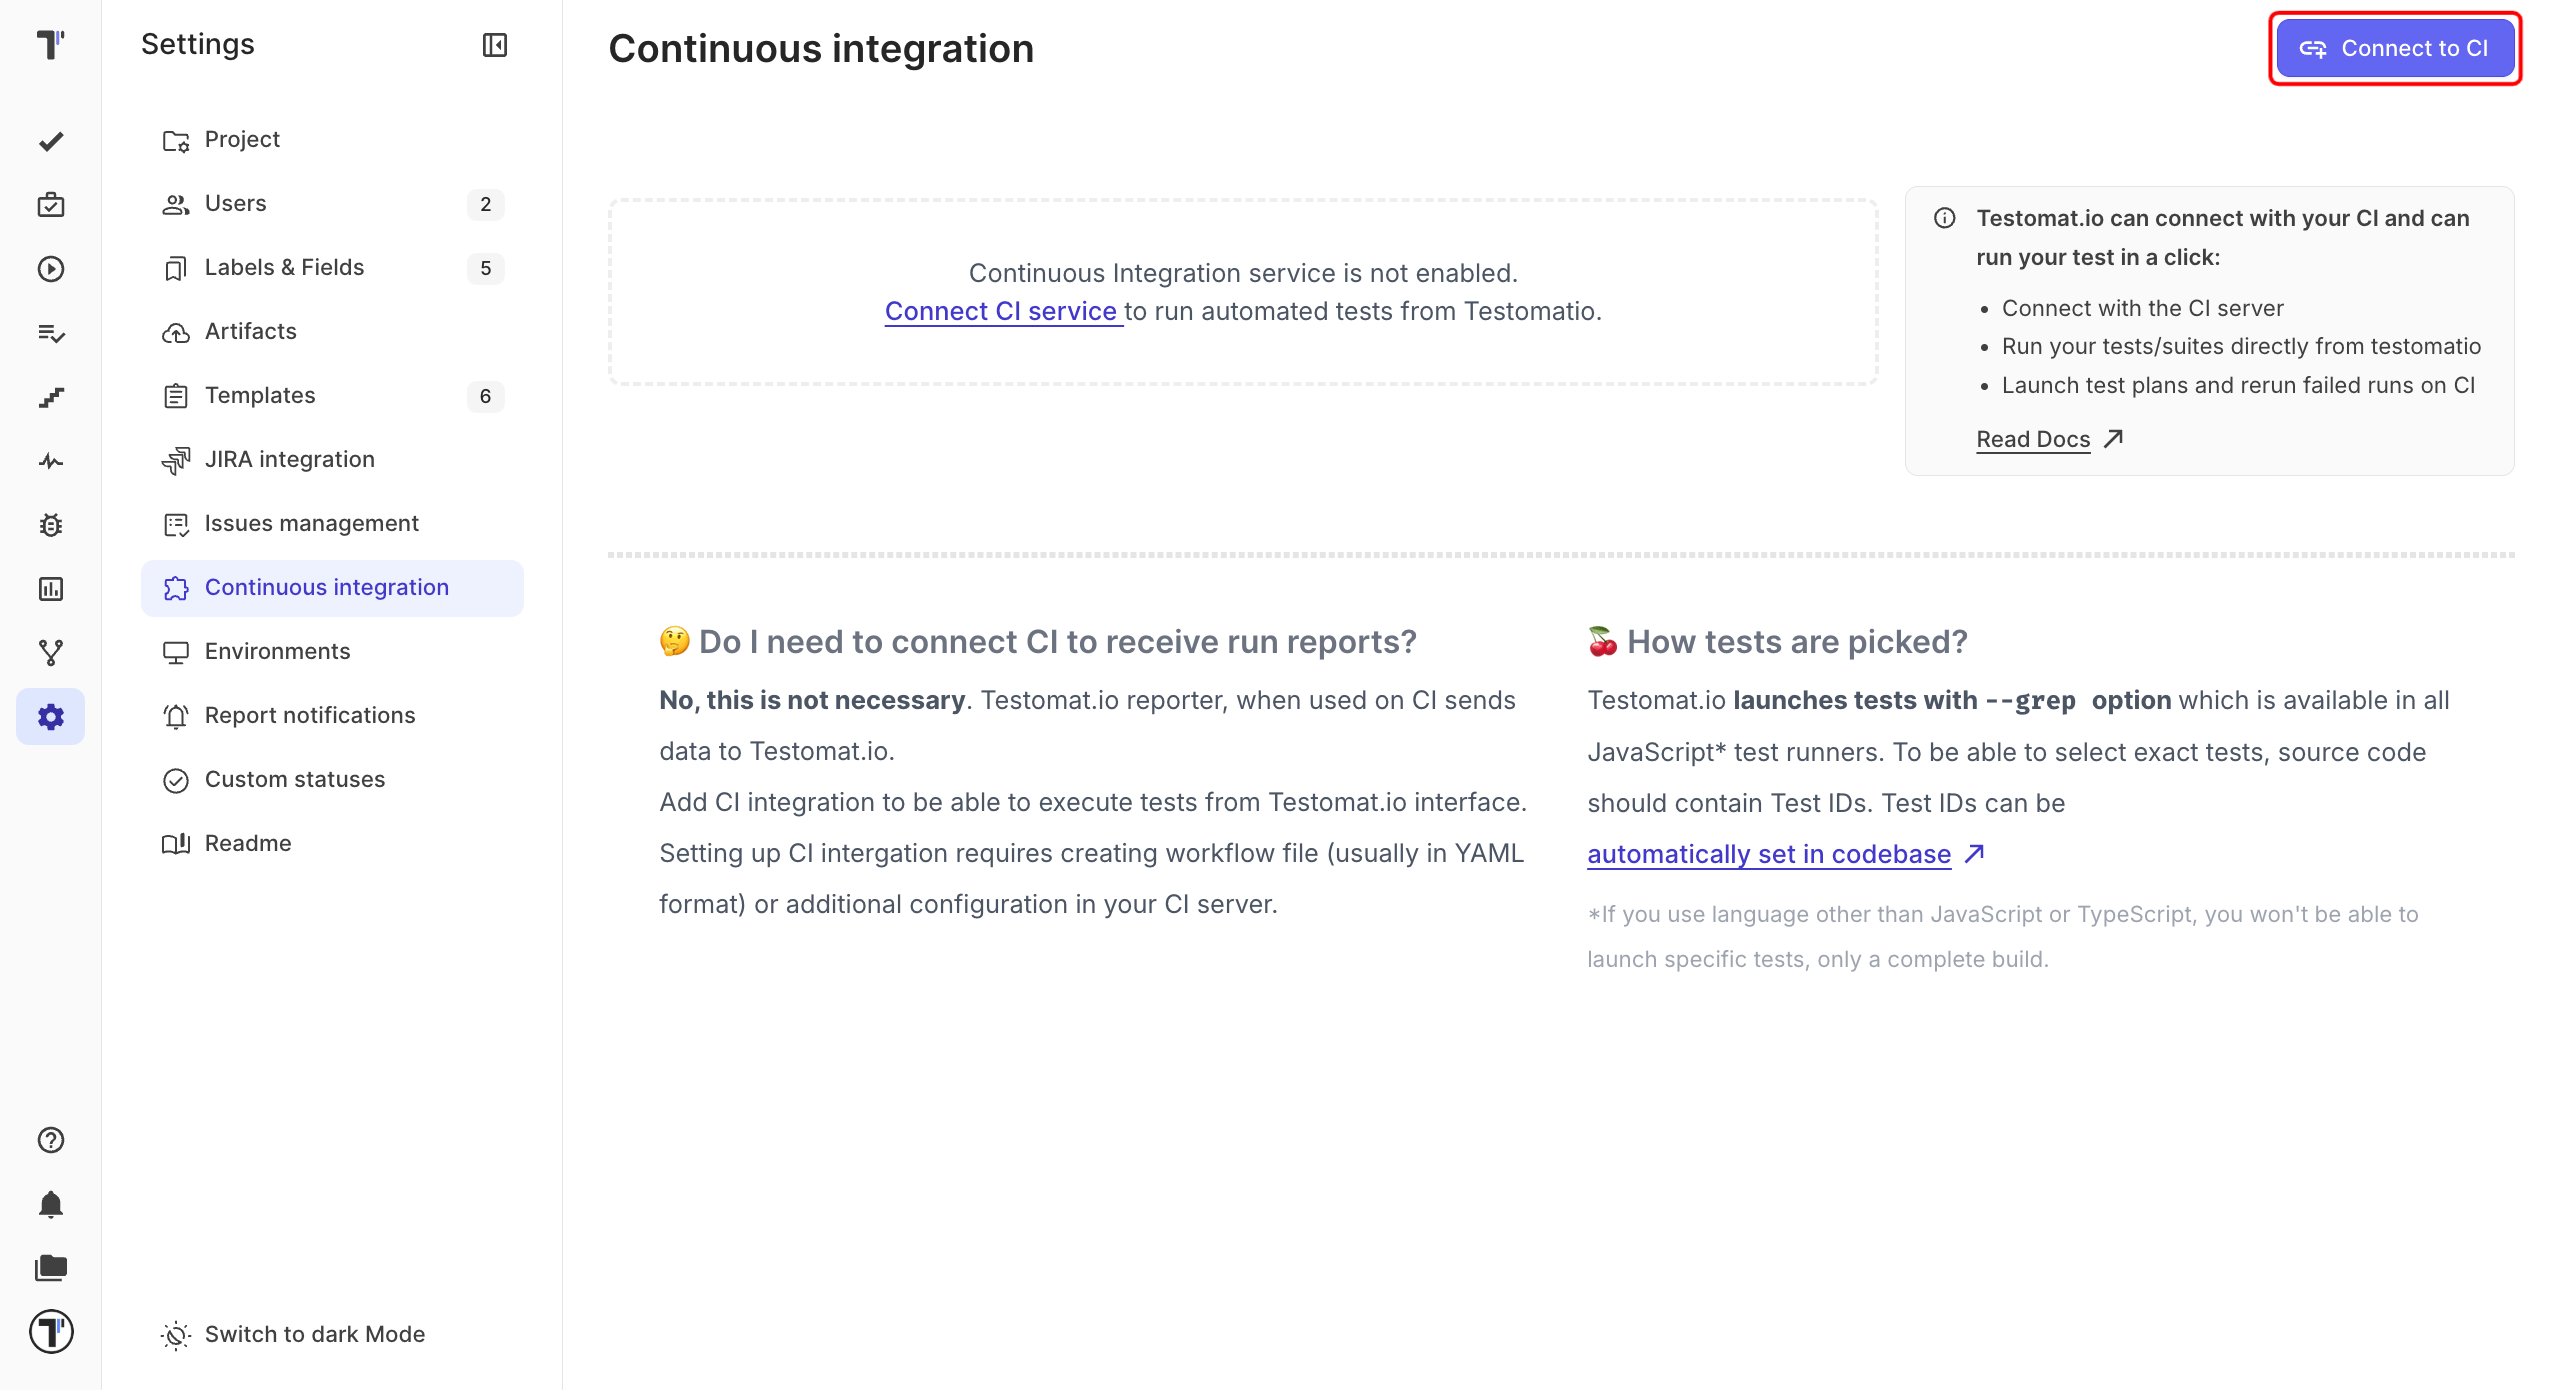
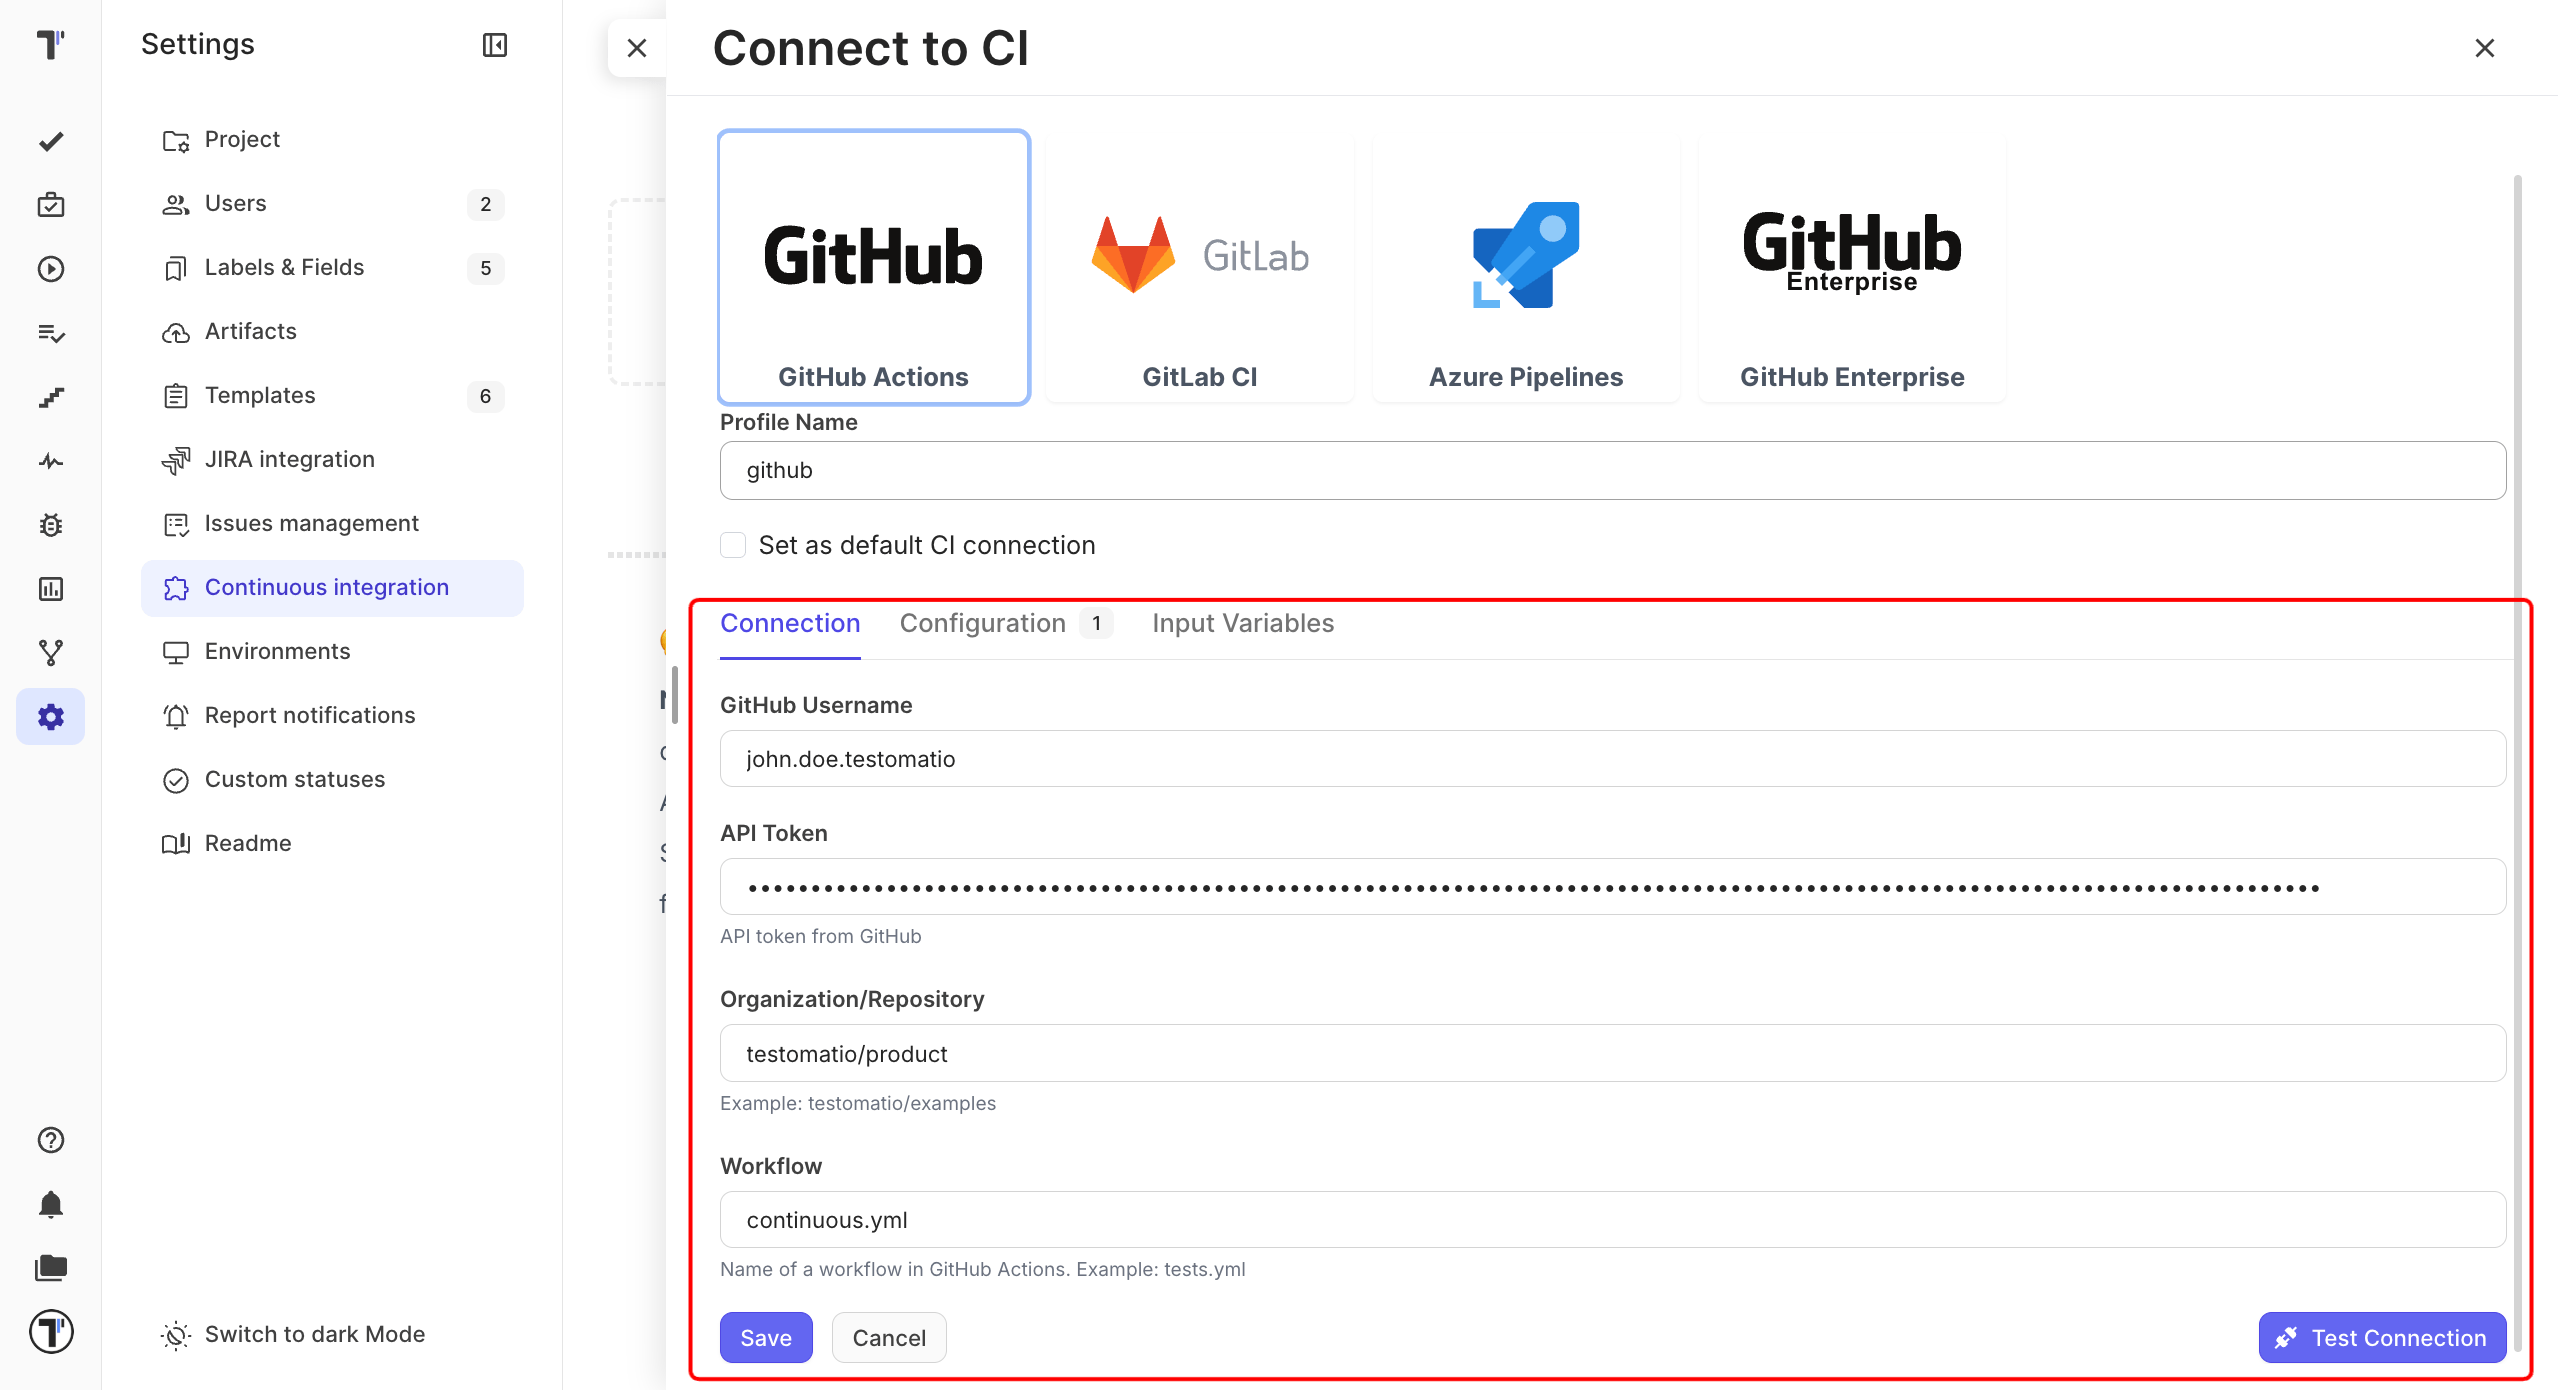
Then, select ‘GitHub’ and enter following details on the ‘Connection’ tab:
GitHub Username.API token- PAT created, in GitHub during Step 1.Organization/Repository (or User/Repository).Workflow- name of a workflow in GitHub Actions, in our casetestomatio.yml.
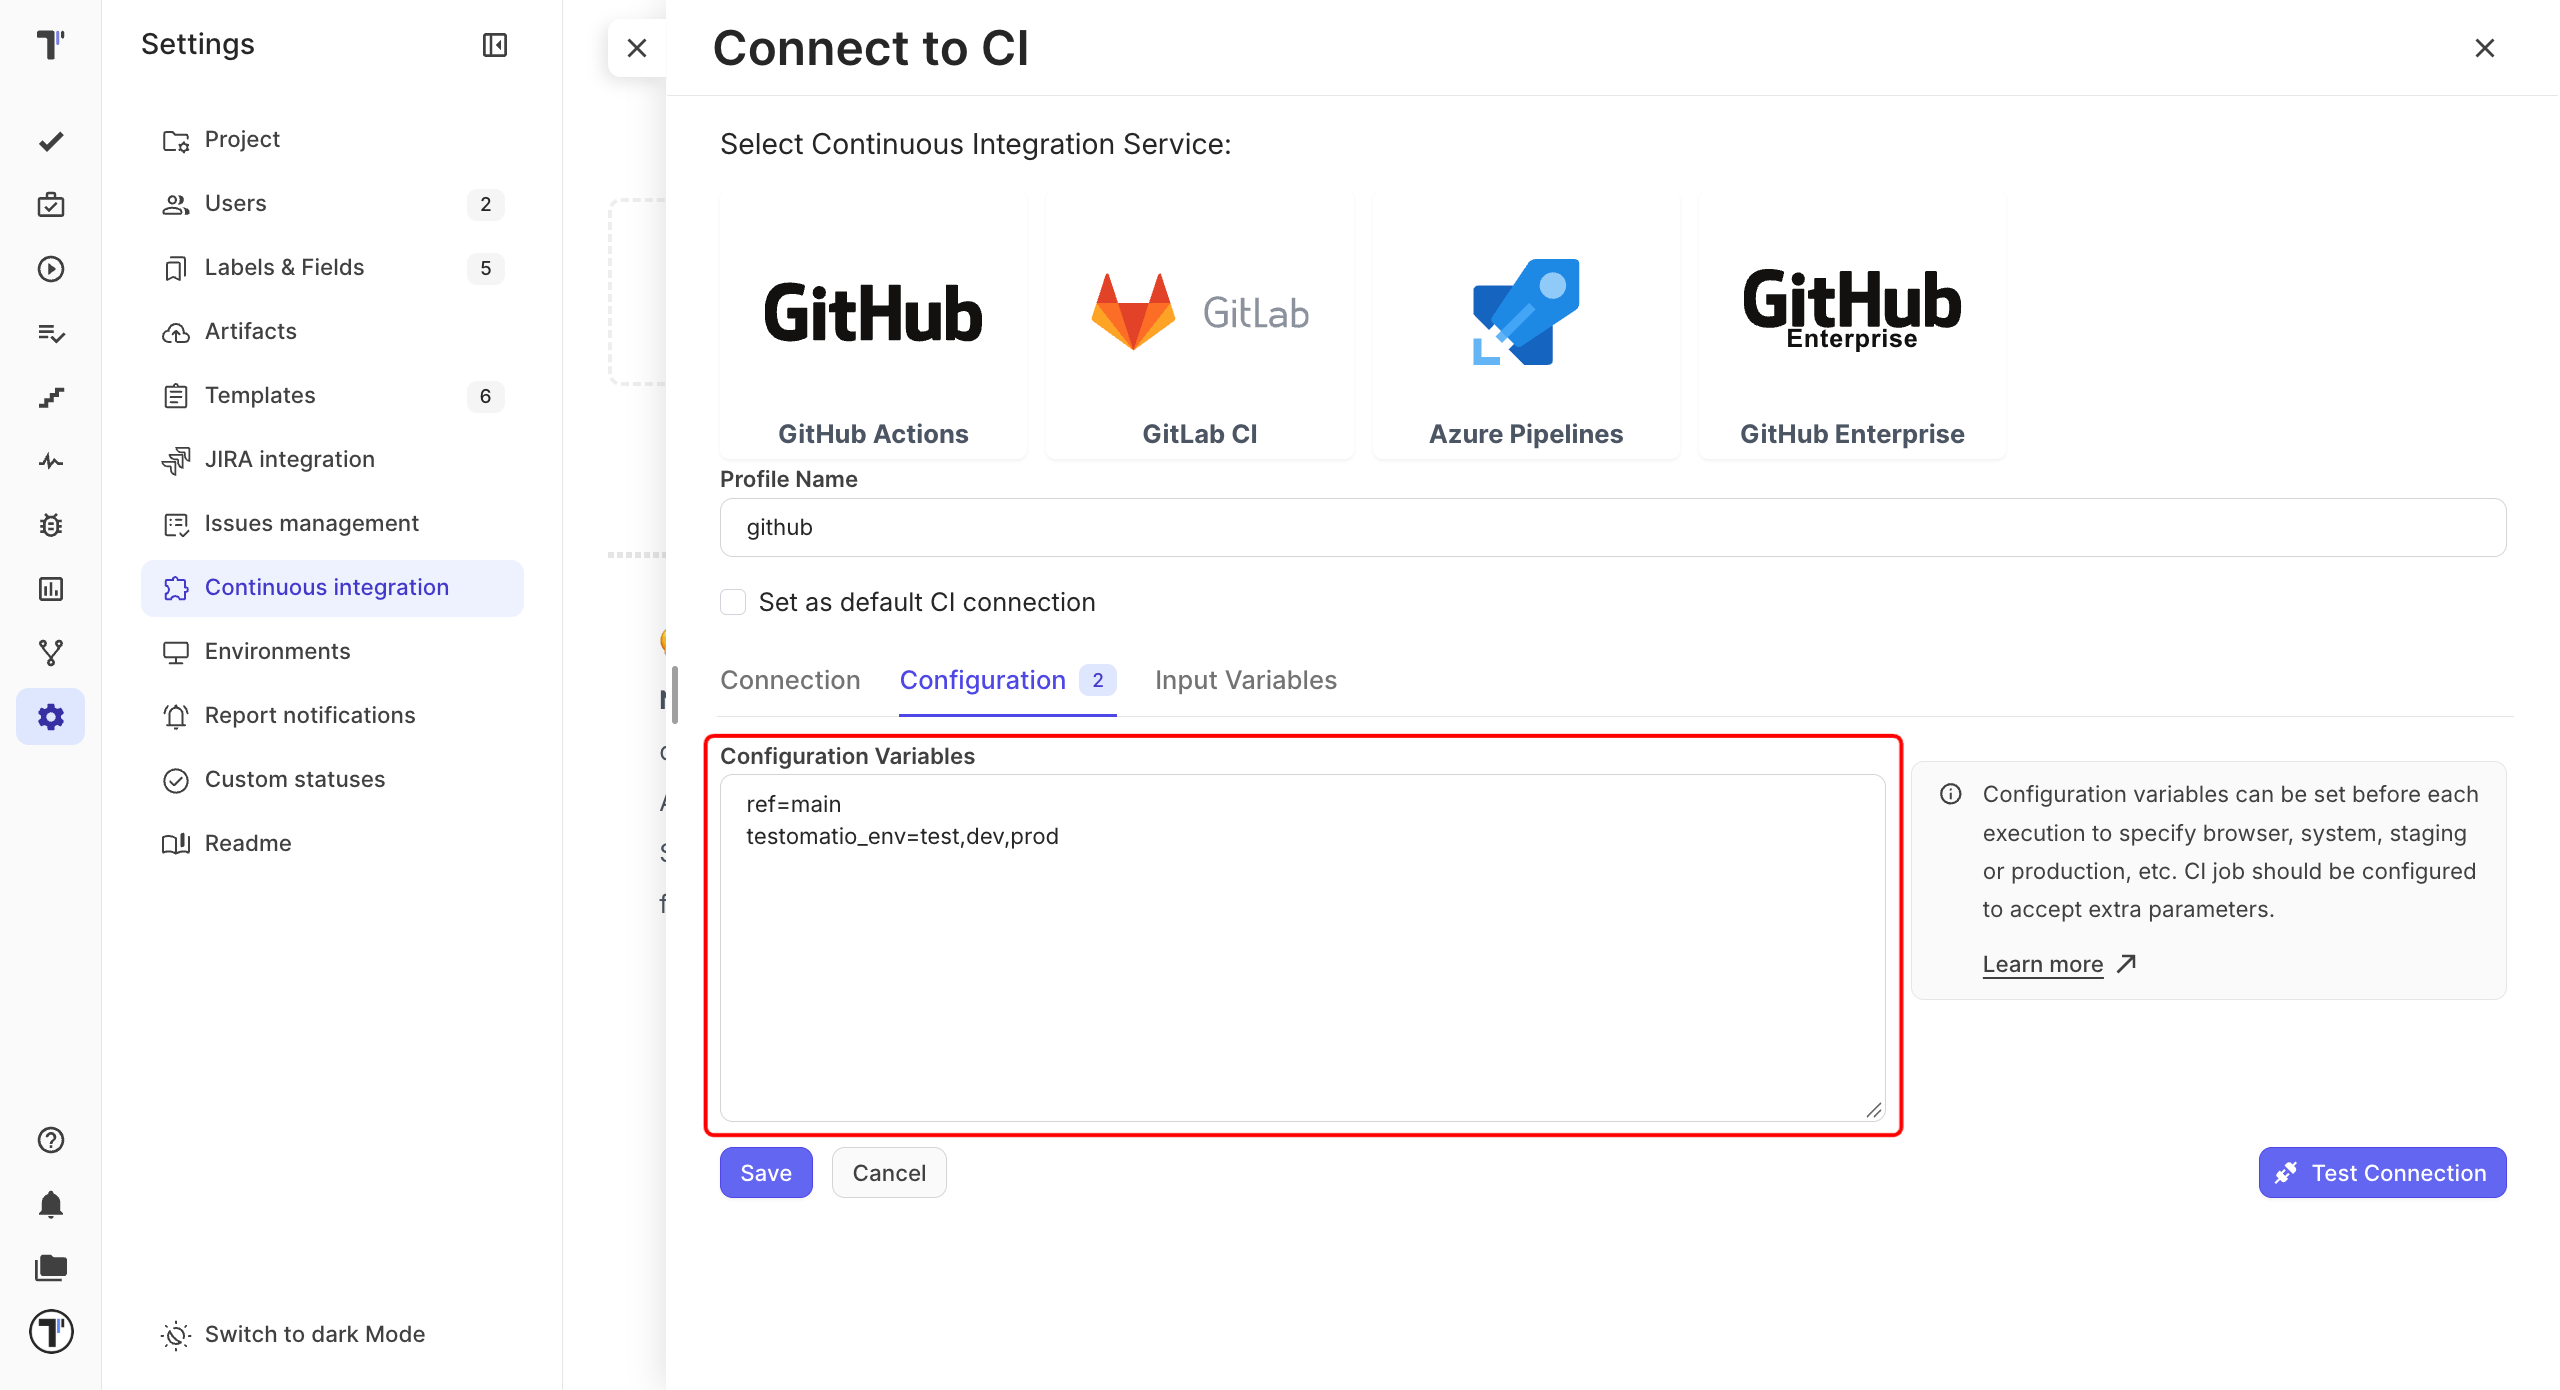
Open ‘Configuration’ tab and check the default ref value. ref specifies the target branch or tag for test execution. By default, it is set to master, but you can adjust this if your main branch uses a different name, such as main.
Go to ‘Input Variables’ tab and enable run and testomatio inputs, to pass them from Testomat.io.
Click on ‘Save’ button to save the connection.
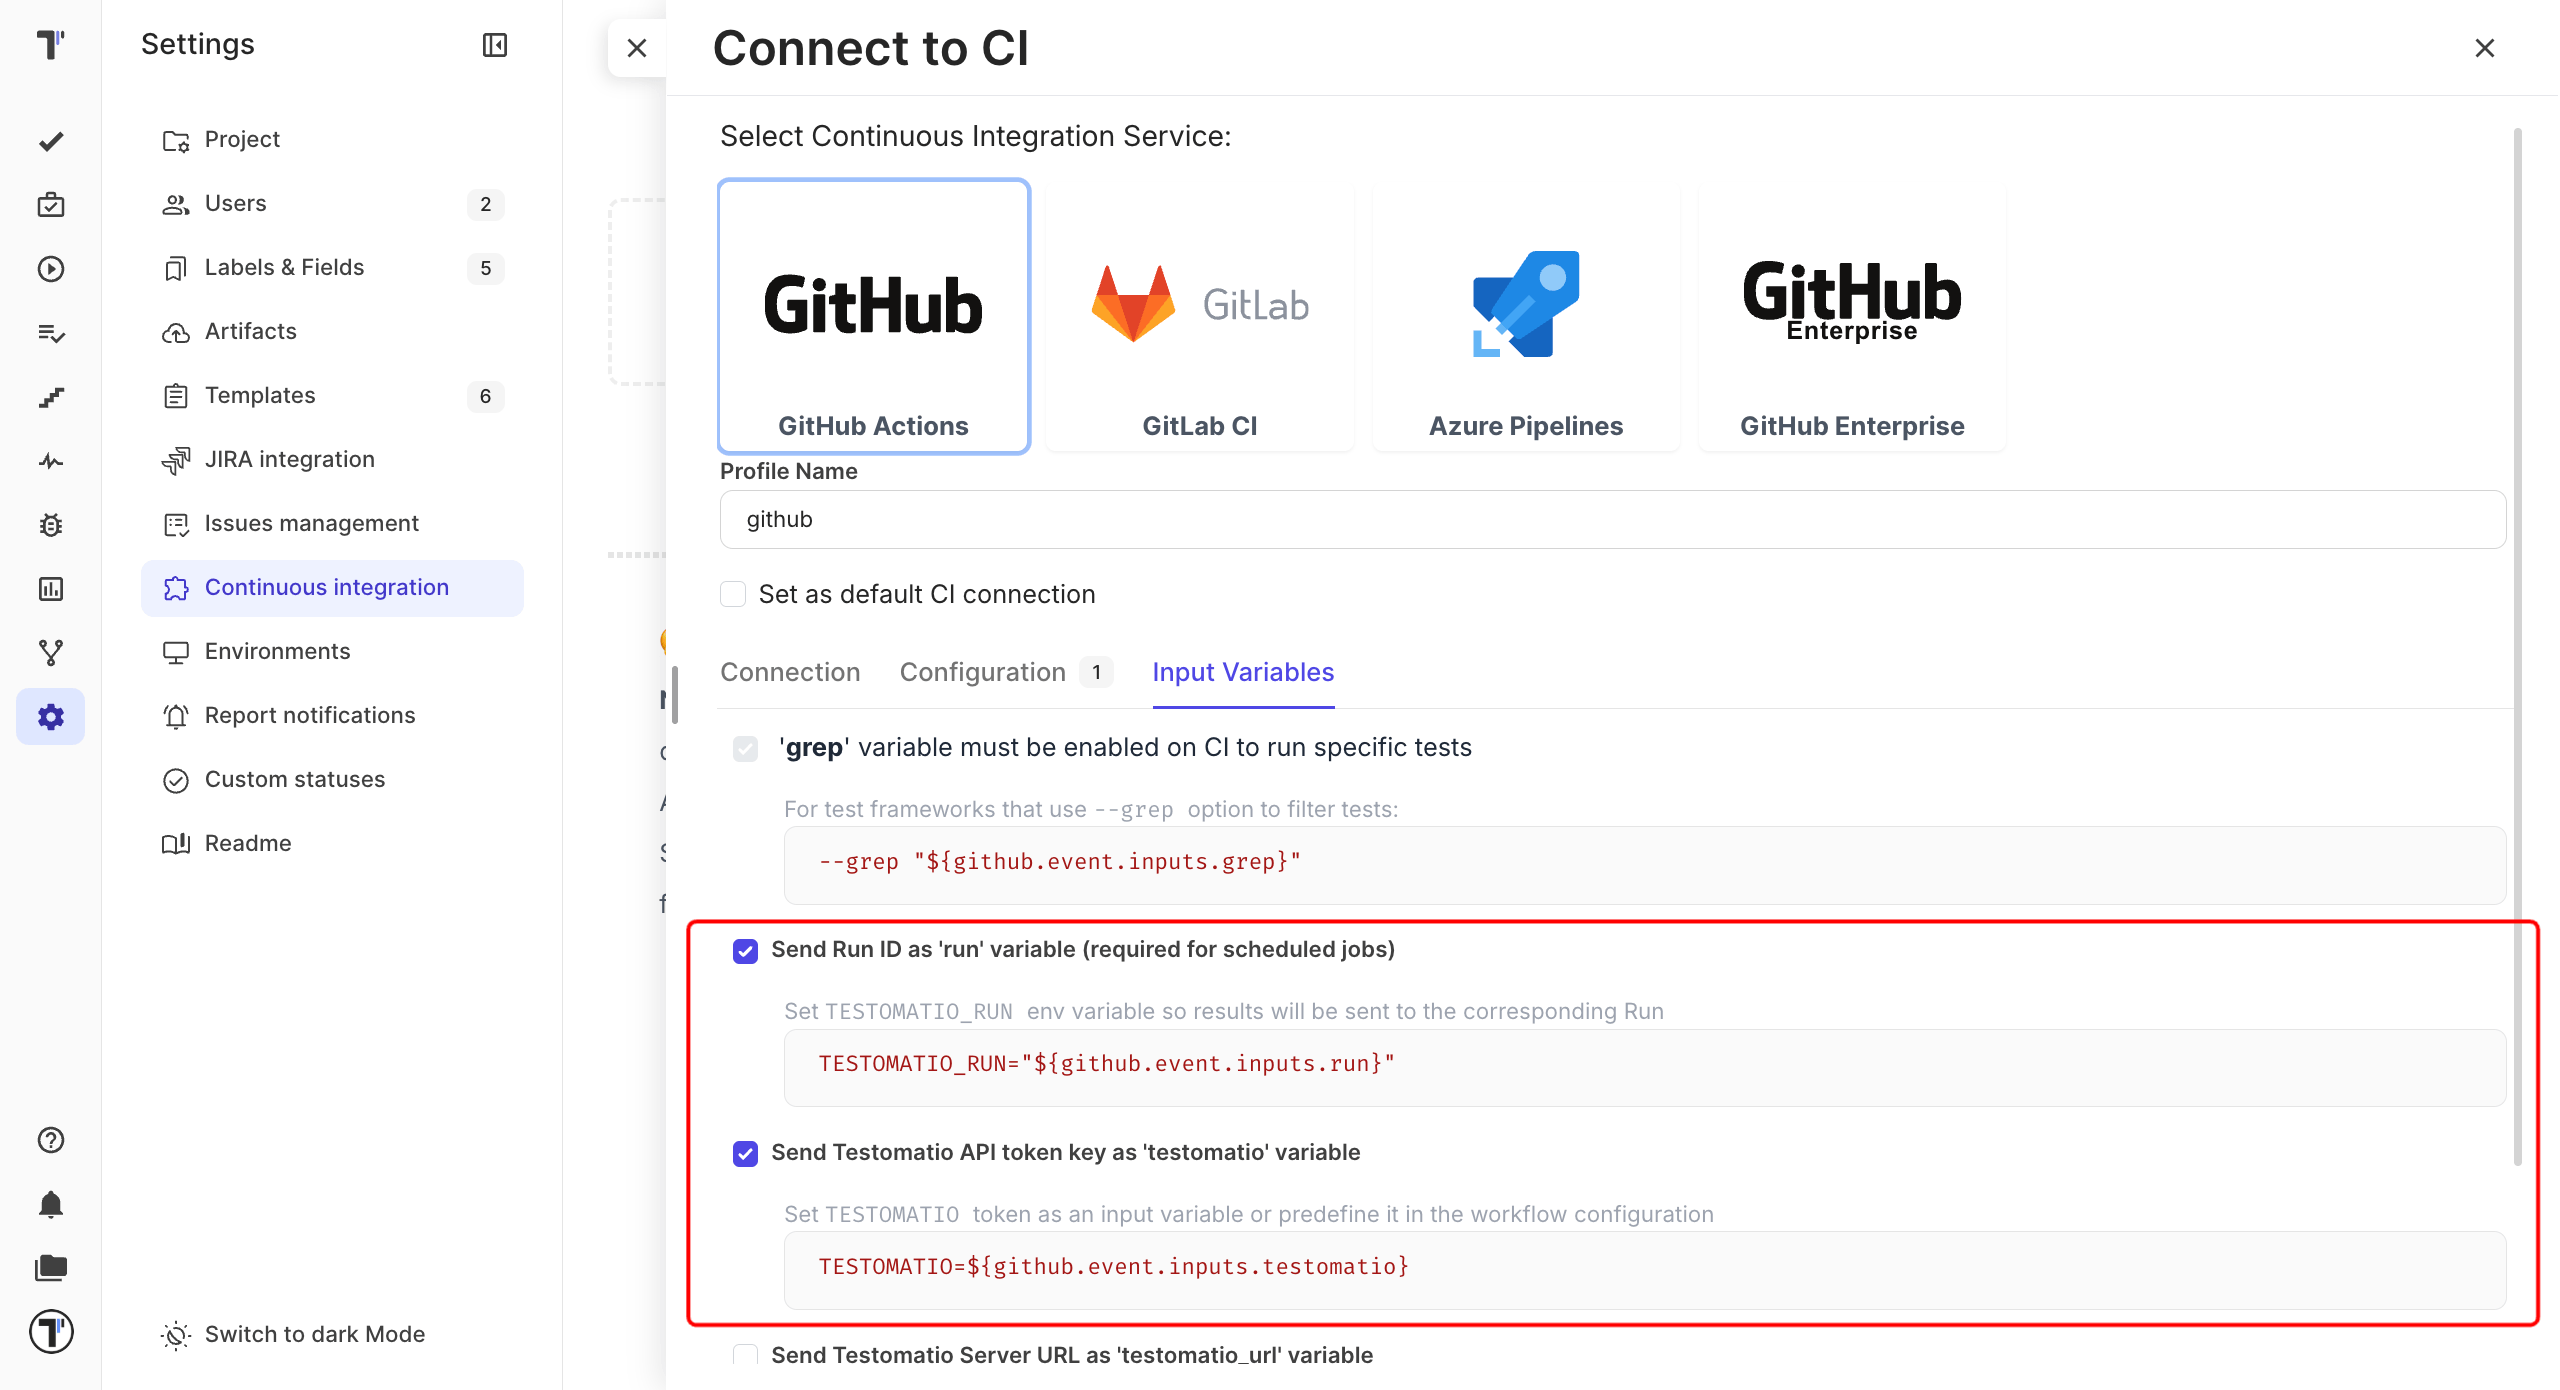
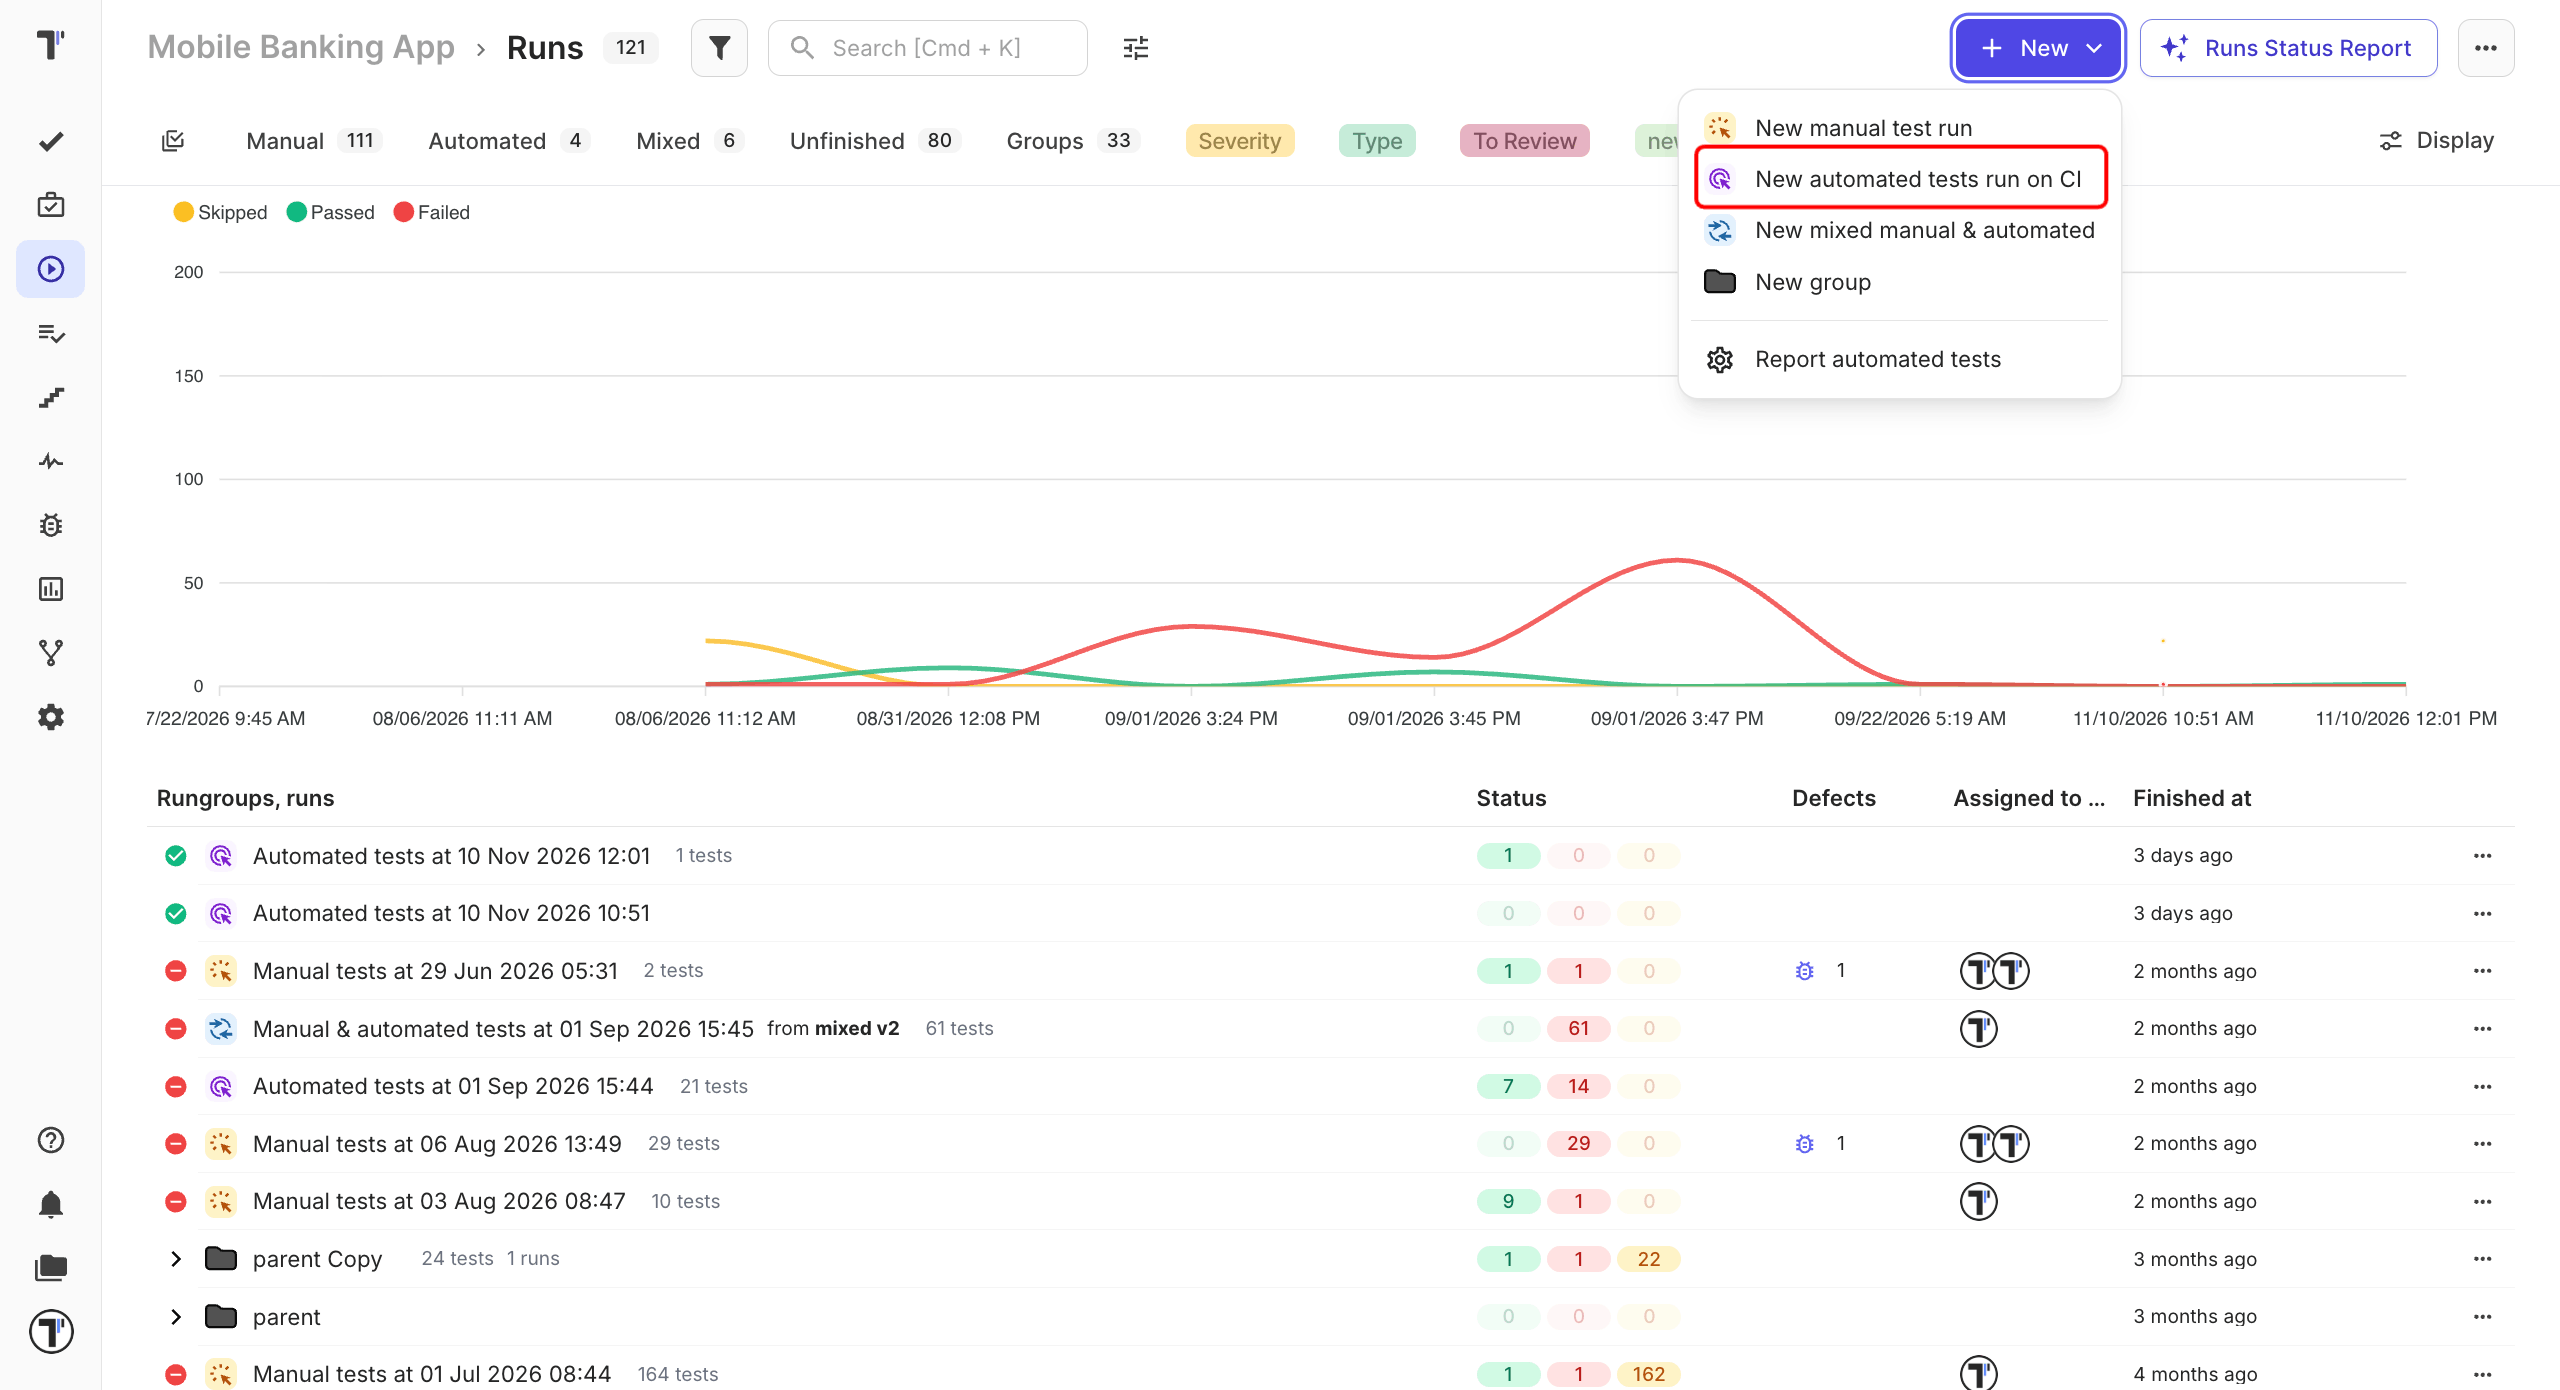
When the connection is saved, open ‘Runs’ page and select Run Automated Tests in CI option in extra menu.
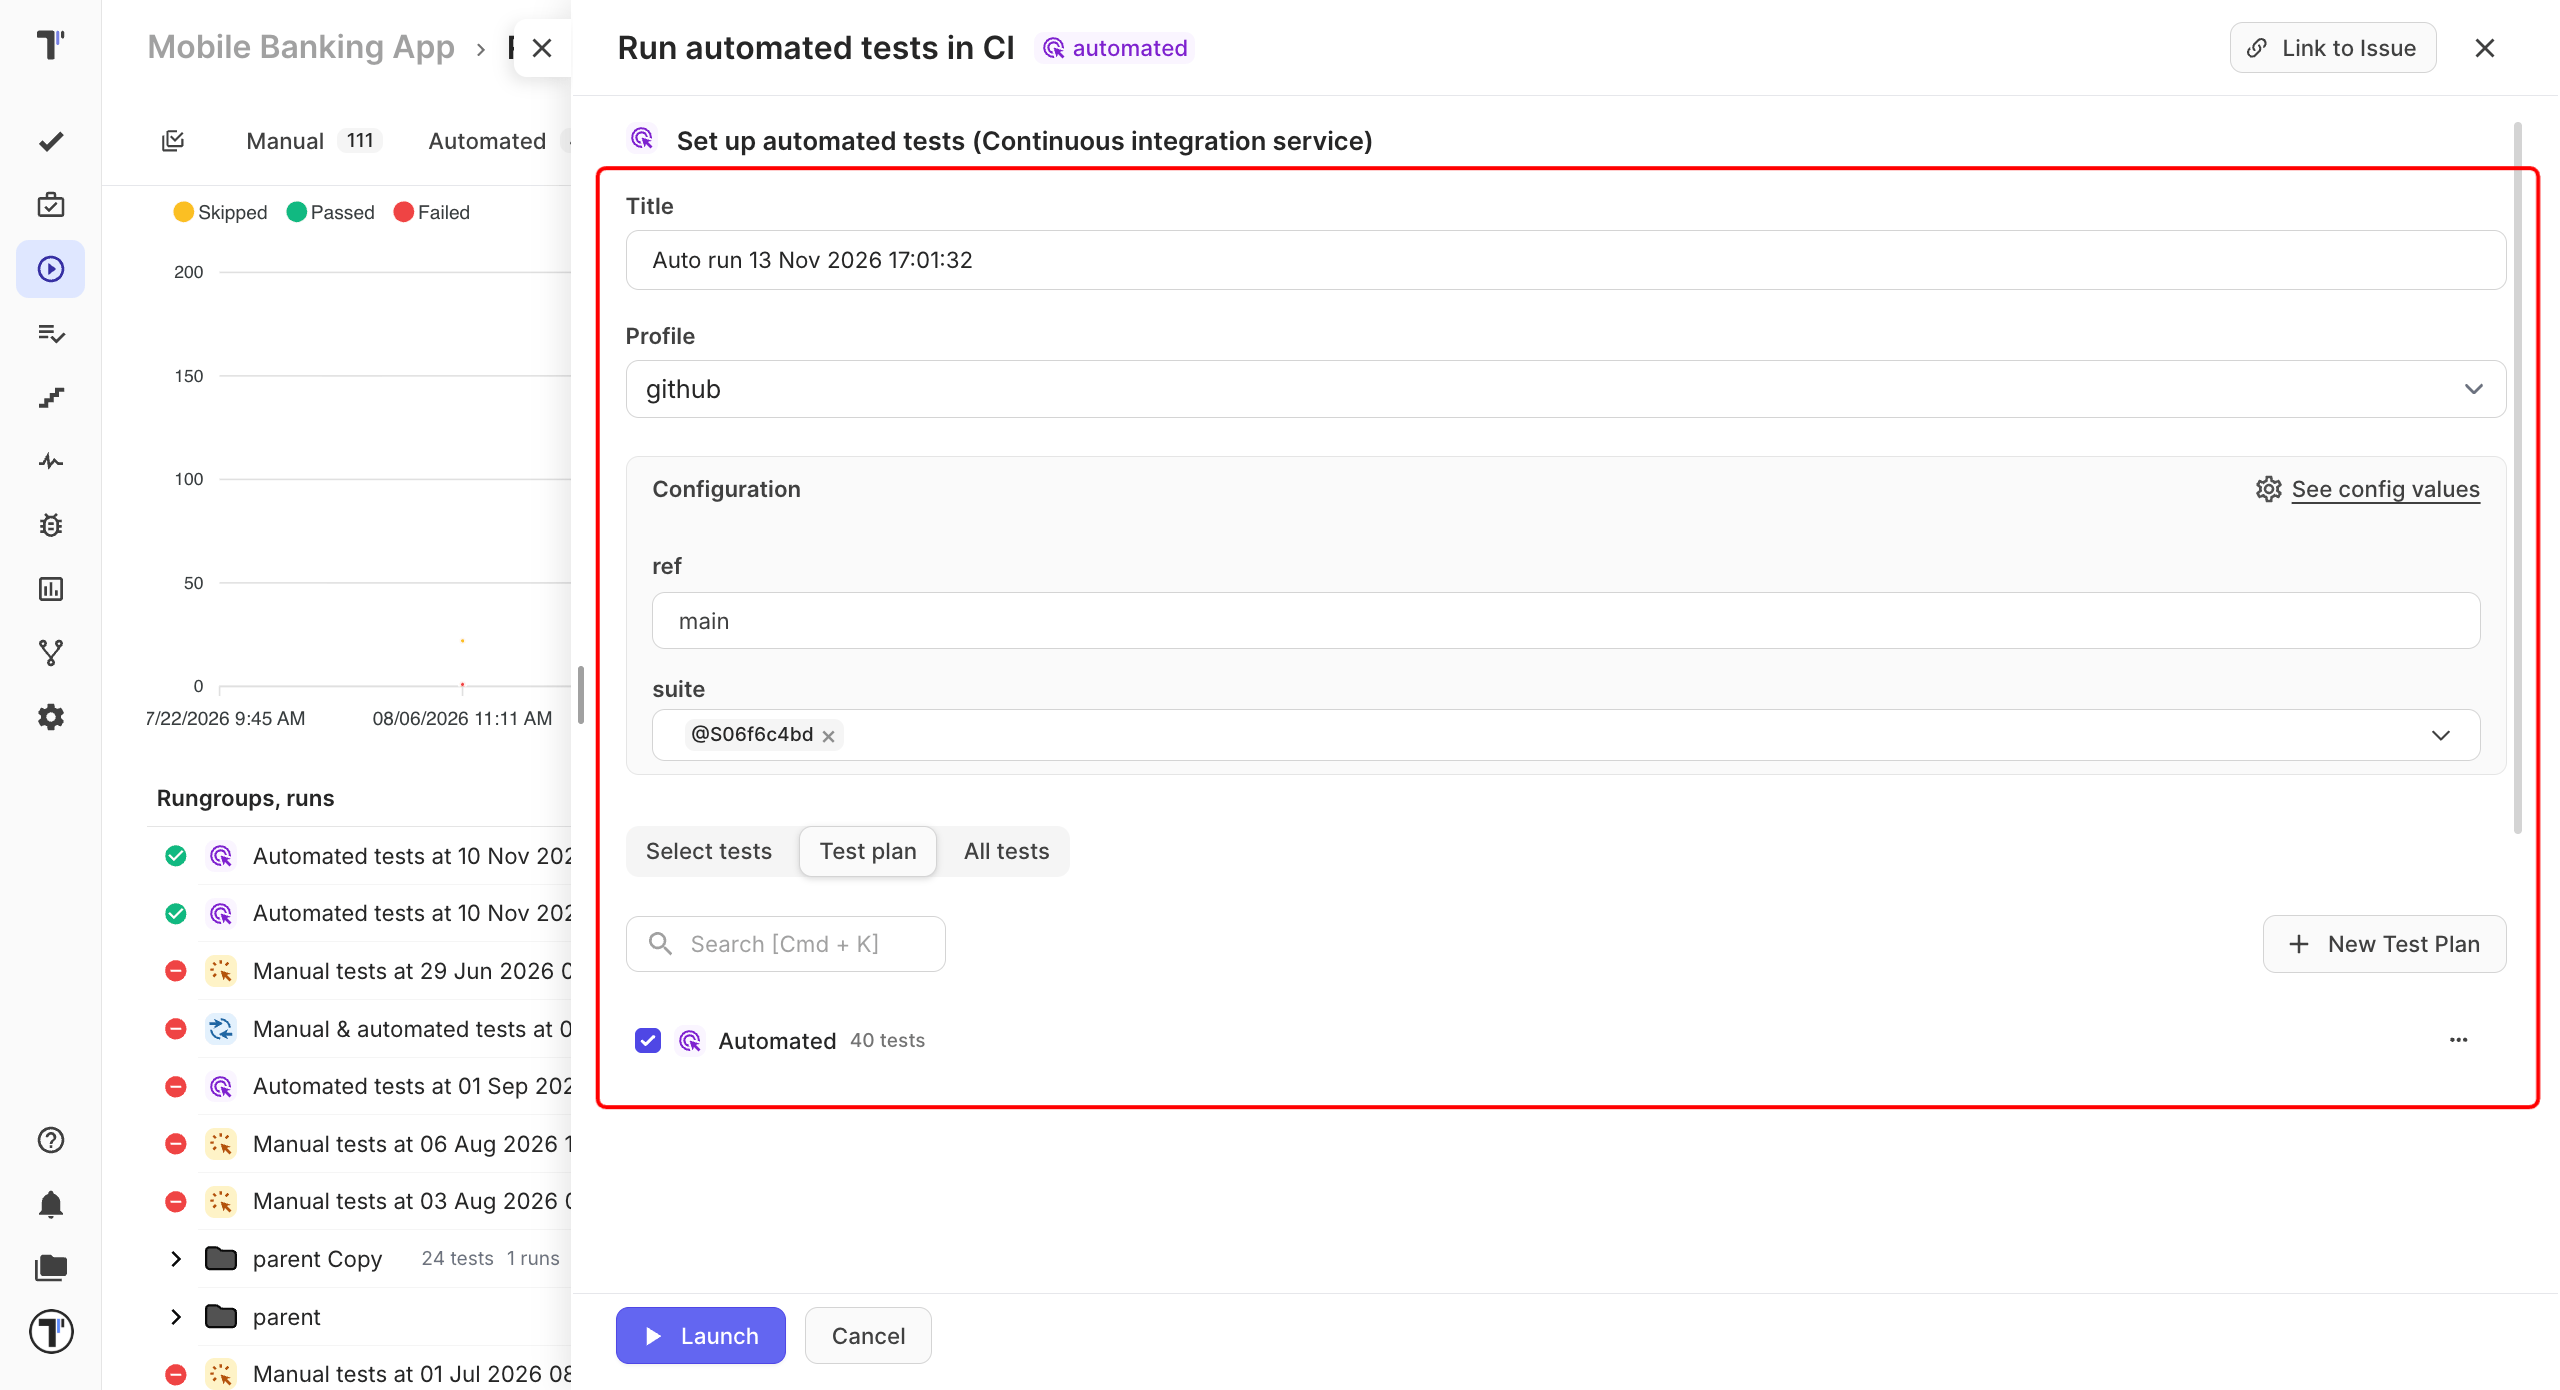
Select ‘GitHub’ profile in a list, select a target ref and any other variables, if any were configured. Optionally, select a Test Plan or create a new one.
Click on ‘Launch’ button and wait for the results.
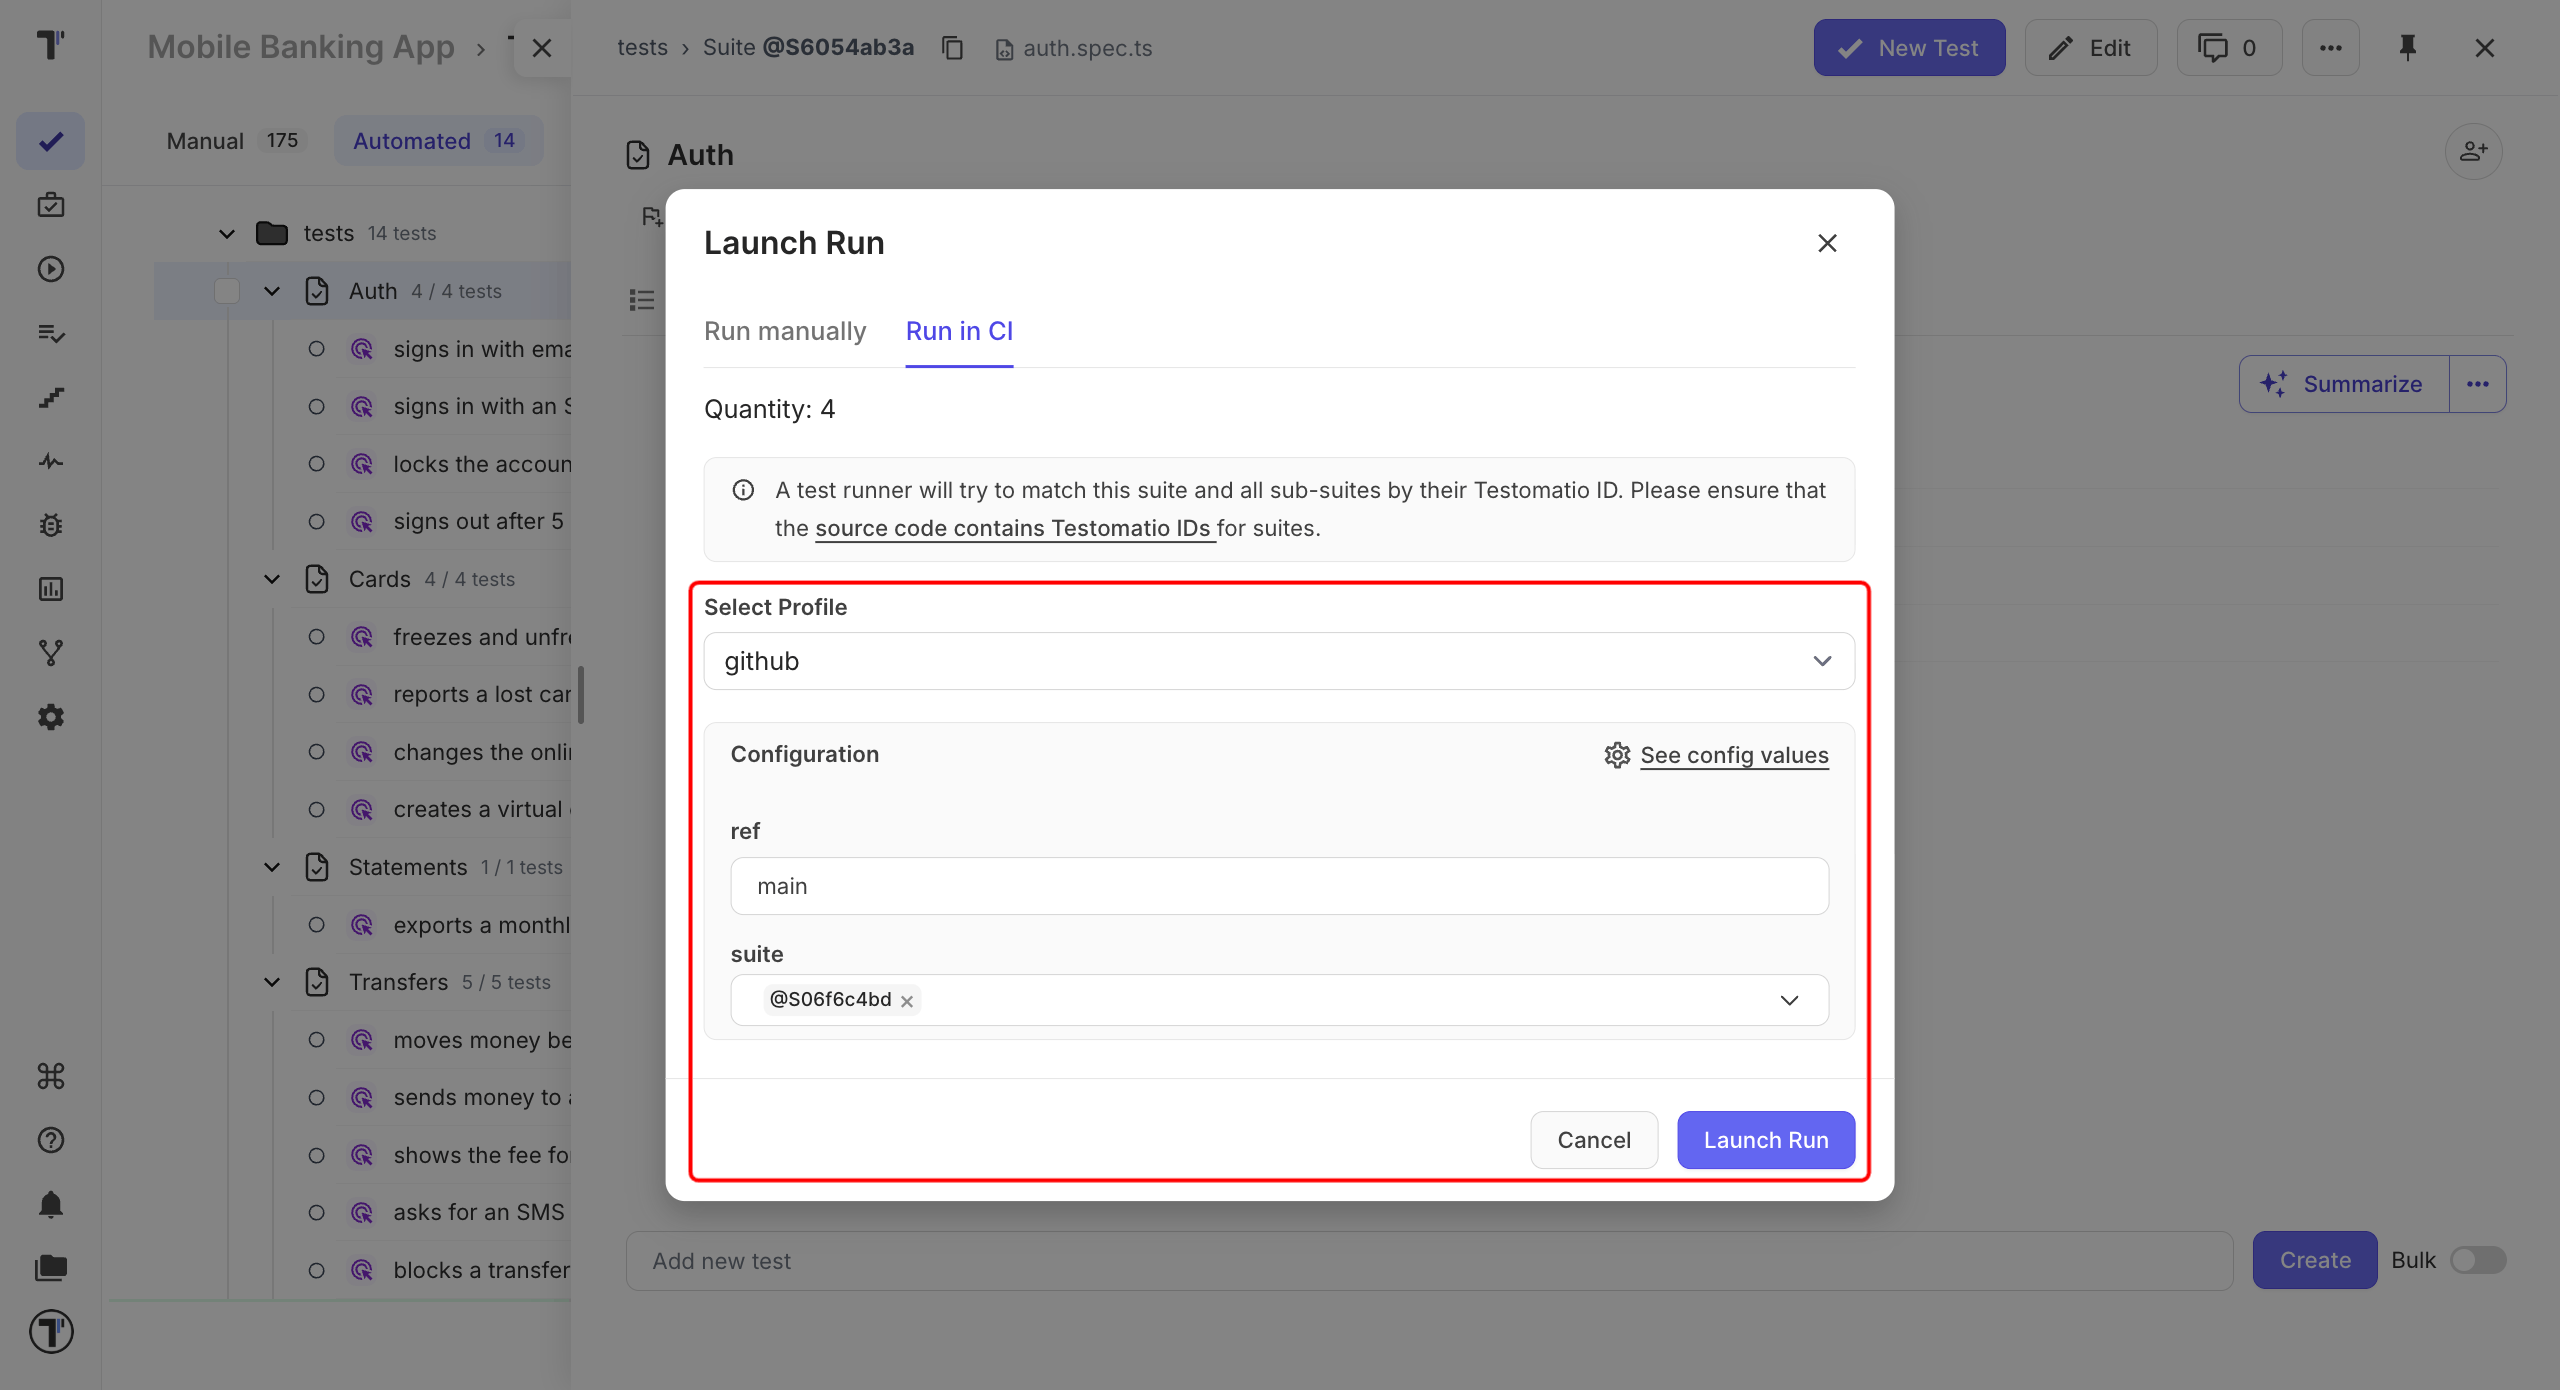
Alternatively, follow these steps:
- On ‘Tests’ page select any automated suite or test case.
- Click ‘Extra menu’ button.
- Select ‘Run Tests’ option.
- Open ‘Run in CI’ tab.
- Select ‘GitHub’ profile in a list, a target ref, and any other variables
- Click on ‘Launch’ button and wait for the results.
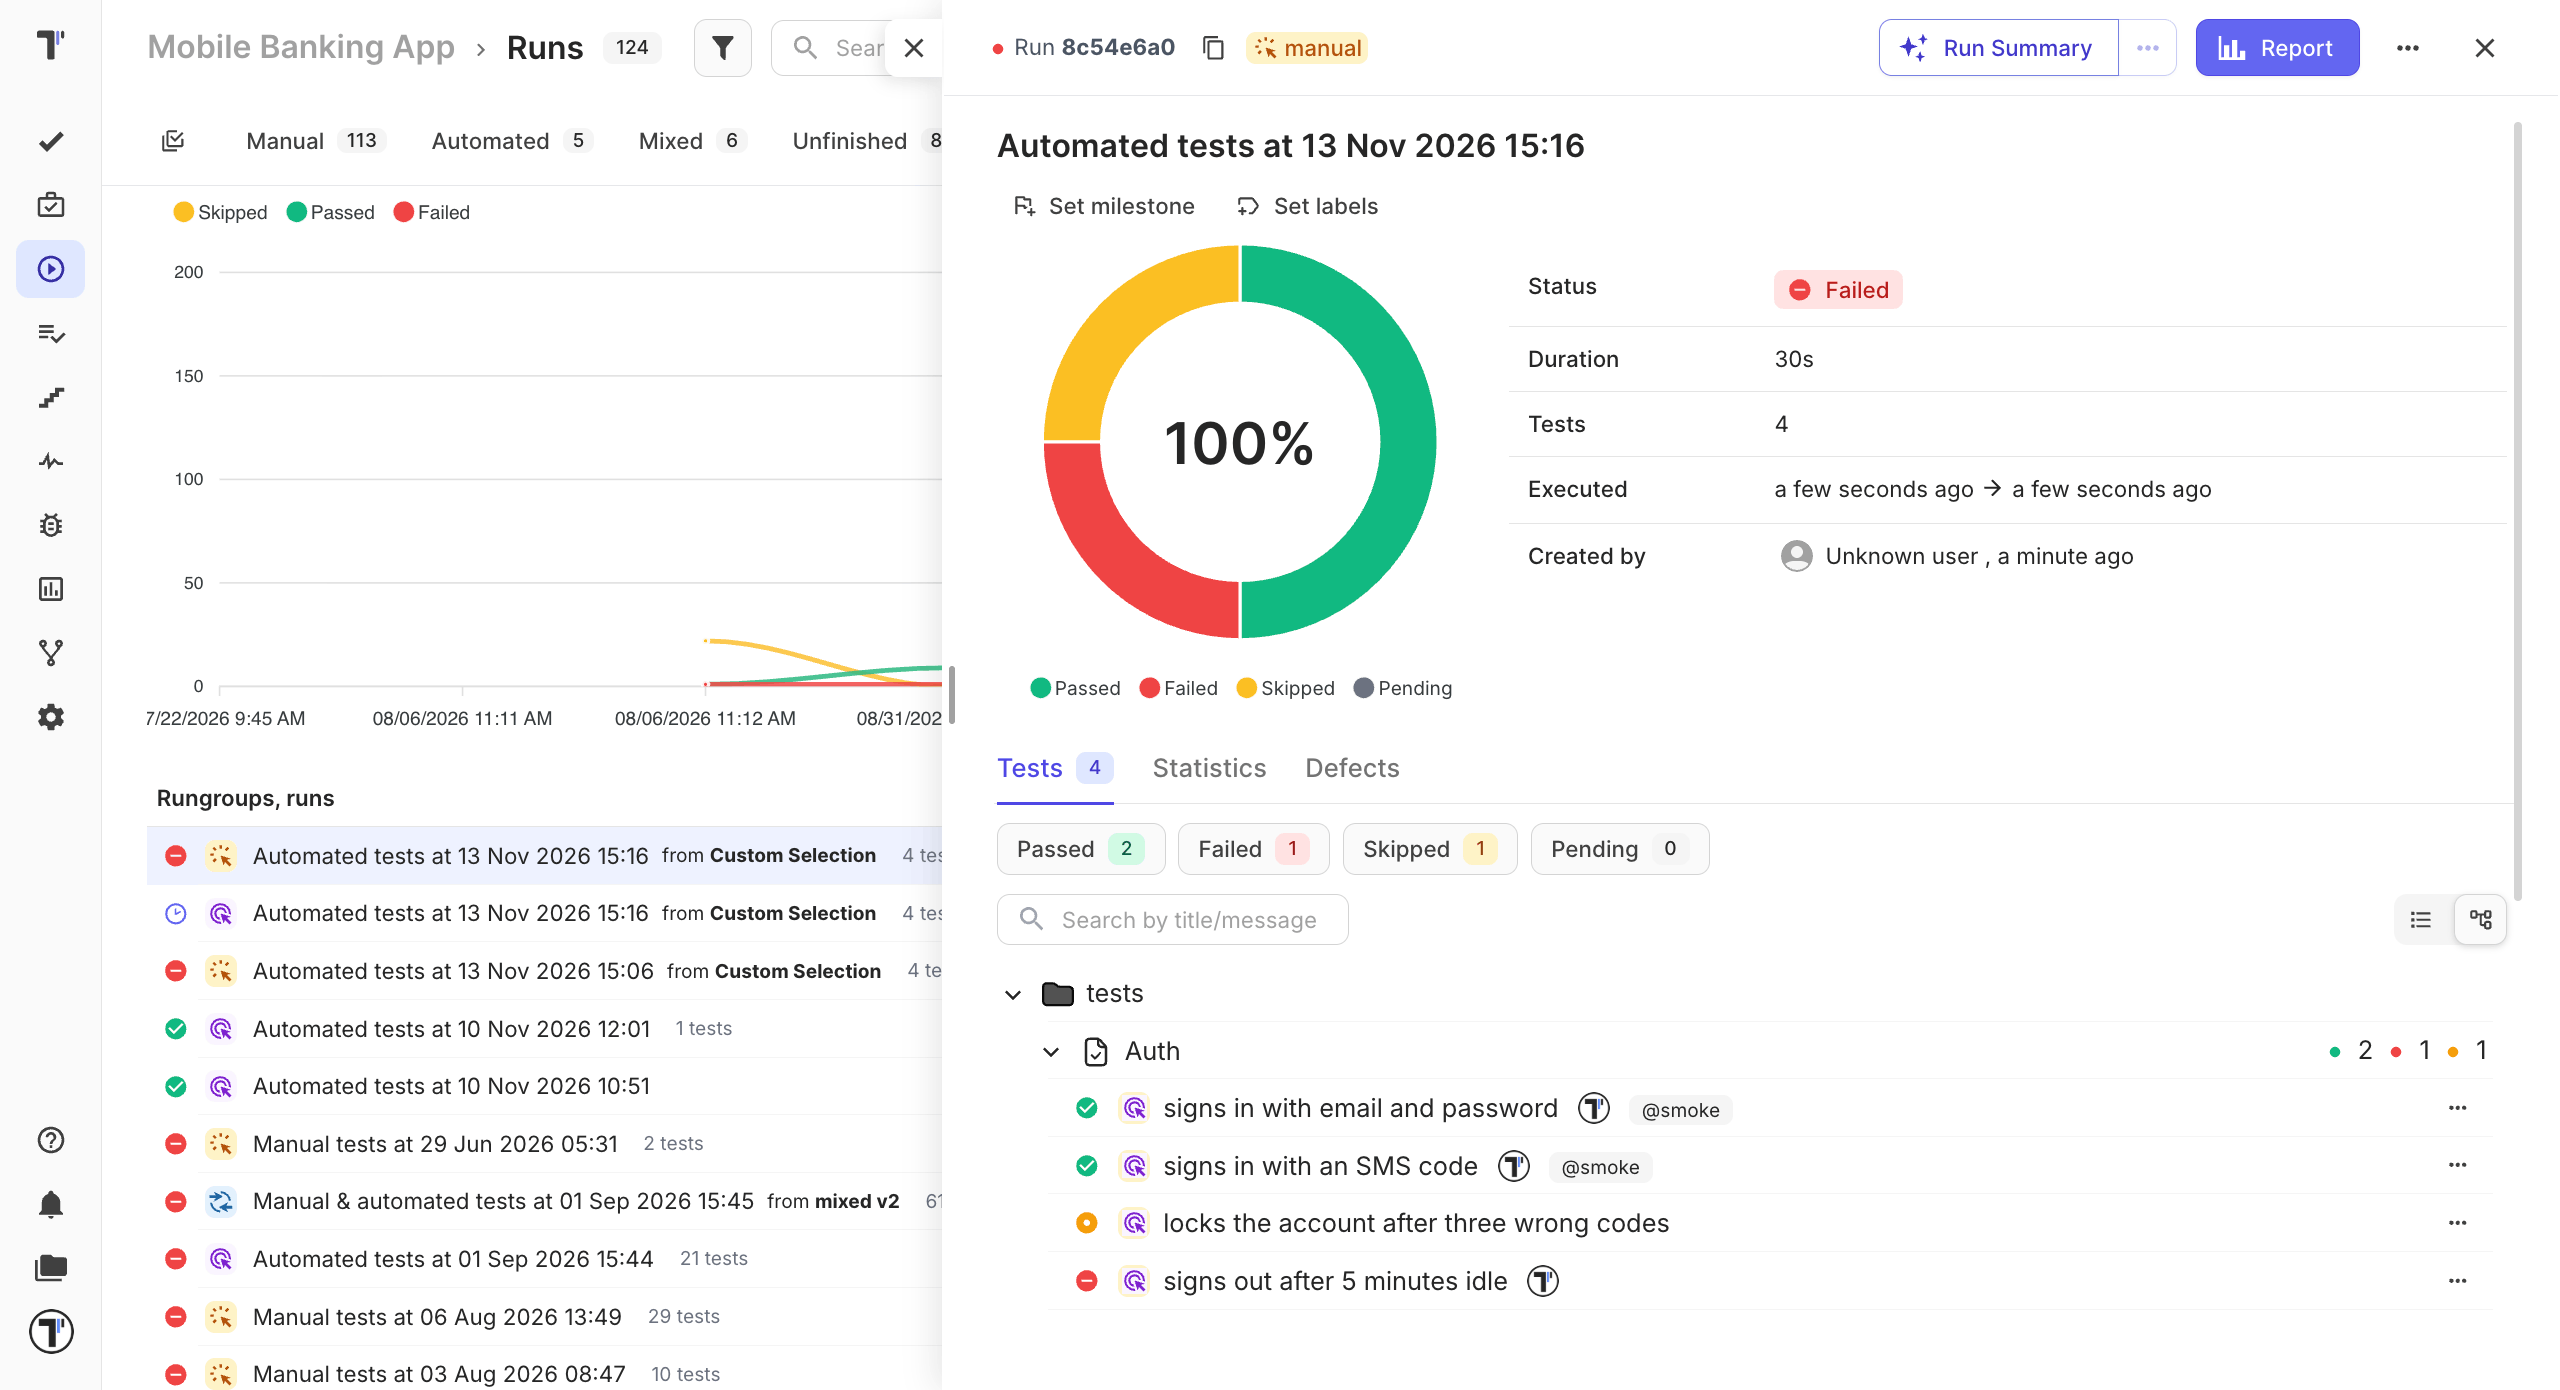
This will start a new job in GitHub Actions, please check that the job was successfully triggered and completed. After the job has finished, a run report will be available on Runs page of Testomat.io.
Connect GitHub Enterprise
Section titled “Connect GitHub Enterprise”If your repository is on GitHub Enterprise Cloud (*.ghe.com) or GitHub Enterprise Server, use the GitHub Enterprise integration instead of GitHub. It sends requests to your company’s GitHub, not to github.com.
Set up the workflow and the access token in your GitHub Enterprise as described above, then:
- Go to Settings → Continuous Integration and click Connect to CI.
- Select GitHub Enterprise.
- In GitHub Enterprise API URL, enter the API address of your GitHub:
- GitHub Enterprise Cloud with data residency:
https://api.<your-tenant>.ghe.com; - GitHub Enterprise Server:
https://github.<your-company>.com/api/v3.
- GitHub Enterprise Cloud with data residency:
- Fill in GitHub Username, API Token, Organization/Repository, and Workflow, the same as for GitHub.
- Click Save.
The next steps (configuration, input variables, and launching runs) are the same as for GitHub.